
|
All content on this site Copyright
©2002-2006 Dave Pinx. All rights reserved.
|
|
|
 Restoration cont... |
|
![]()
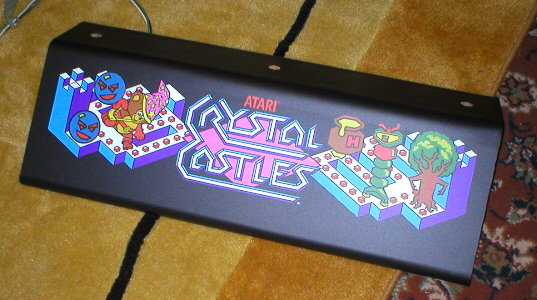 |
Fitting
the new marquee overlay required lots of thought before steaming straight
in! Cos once it's stuck, it's stuck, so you have to get it right first
time......
It also takes two pairs of hands, it's not something you can do on your own (hence no pics!). I started by lining the front edge (bottom) of the overlay on the reverse side of the assembly whilst the hired help pulled back slowly on the adhesive backing. As they slowly kept pulling I pressed the overlay into place working from the centre outwards continuously, to avoid bubbles. Once the overlay had wrapped completely round and was in place I then refastened staples where they had been originally using an upholstery staple gun. |
![]()
|
Next
I removed the old overlay from the speaker grill assembly which was
quite easy because of all the holes in the grill. Due to the shape of
the grill it was a lot harder to apply than the marquee and extra special
attention had to be paid to positioning.
Using the bolt holes as a guidance point and with the hired help again pulling off the adhesive backing I started at the left hand side and slowly worked my way over to the right constantly checking against the edges of the grill for squareness... |
 |
![]()
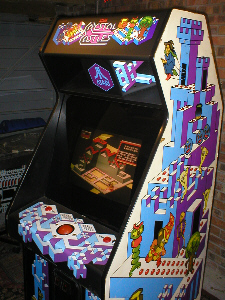 |
Once both these were fitted it was just a matter of replacing the speaker grill assembly back in the cab first and then refitting the speakers. Before finally refitting the marquee assembly and reconnecting the tube light. As the pic on the left shows it's made a vast improvement to the look of the cab all thats left to do now is remove the control panel and renew the CPO on that. So watch this space ... |
![]()
