
|
All content on this site Copyright
©2002-2006 Dave Pinx. All rights reserved.
|
|
|
 Restoration. |
|
|
One
of my all time favourite games is Crystal Castles
by Atari.
This game is one of my top five all time favourites and as a teenager, i played the guts out of it, i could even get to the very last level, but sadly could never finish the damn thing. So to get to own one, is yet another dream come true, so firstly i say a big THANKYOU to my mate Malc for selling it to me. Over the coming months i will be going through a full resto on this cab, but work wont start untill i have found meself a new home first ! |
|
Here
it is still in Malc's kitchen, when
i went up for Scotvac7.
|
 |
 |
 |
 |
|
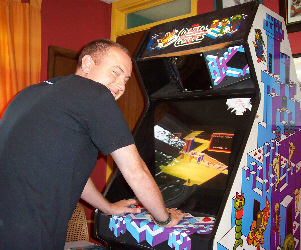
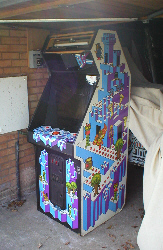
Yes
its mine and i love it ....
|
working
on it ...
|
Left
side.
|
Right
side.
|
![]()
|
Once i
had agreed to buy it, i had to get it down from Scotland (deja
vu a certain pinball) but this time there was a plan, ever
unfolding. I had sold the 26" Jamma to Revowp
(Chris) who lives in Manchester, which
is halfway between me and Malc. |
 |
 |
 |
|
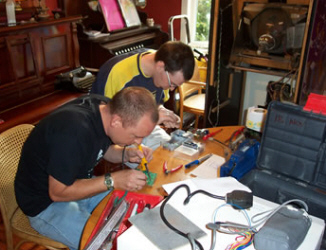
Me
& Kev fixing dry joints on monitor
pcb's.
|
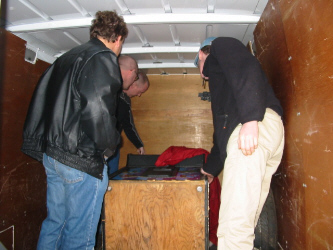
In
the van outside Cyclo's.
|
New
Repro kit.
|
 |
 |
 |
|
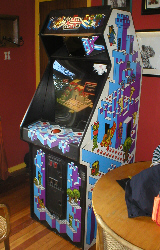
Its
here YaY !
|
Work
needed on Marquee and speaker grill.
|
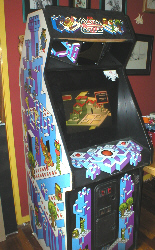
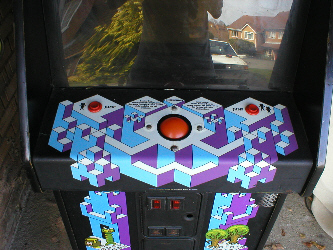
Control
panal is quite good.
|
![]()
|
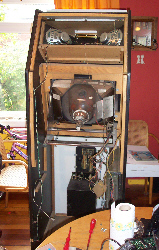
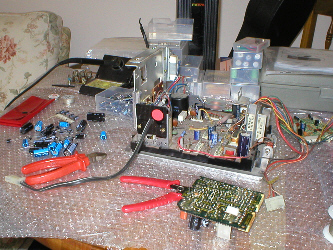
Monitor
Re-cap .
|
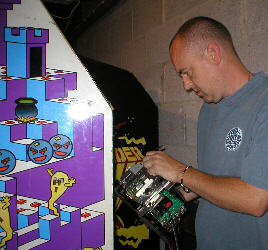 |
Once
the cab was back at home in the garage, it was time to get stuck in,
so i decided to start where Outrun
(Kev) and i had left off, when we had started
work on the monitor at Scotvac 7.
We had already reflowed all the dry joints. So this just left me to replace all the Radial and Axial electrolytic capacitors on the monitor chasis. There is a main base pcb and then 3 daughter cards and the caps had a variety of values and voltage ratings but some of the high voltage caps were alot harder to source. |
 |
![]()
|
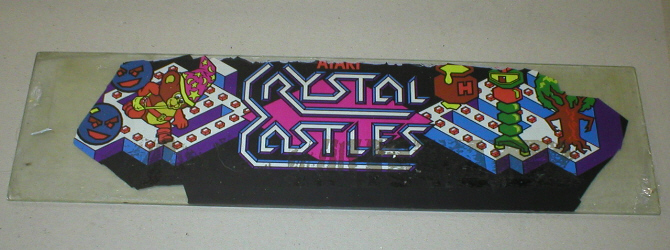
Glass
Marquee and overlay.
|
 |
|
Well
as its easy to see, the Marquee was in a bit of a state and was'nt actually
attatched to the cab when i got it, so once my new repro artwork kit
had arrived, it was time to sort the problem.
|
![]()
|
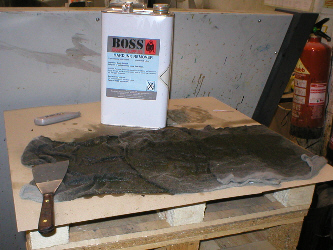
Stripper. (Don't get your hopes
up i mean the ink kind)
This kind of stuff is very nasty and so protective gloves and eyewear is a must (YOU HAVE BEEN WARNED) I used Boss ink stripper because i'm a printer and could get hold of it at work, but its just like Nitromores except runnier. Because the marquee is made of glass and not plastic / plexiglass it is safe to use solvents on it, without causing any damage. I started by gently scoring the old overlay with a stanely knife, to give the stripper a chance to get under the laminate coating. I then placed several rags over the top of the marquee and carefully poured the stripper on to the rags and left it to soak for 5 minutes. |
 |
![]()
|
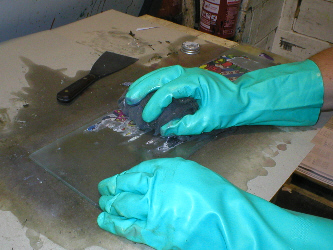
Time to get those rubber gloves on. Once i had removed the rags from the marquee i rolled up a couple of rags into a ball and then soaked them with stripper, i then rubbed these on the marquee in a circular motion. This started to make the laminate and ink come off, but still left much of the base material behind. Time for some drastic measures...... |
 |
![]()
|
Ink knife. (paint scraper to the non printers among you)
In order to remove the base material i got a paint scraper and very
gently worked away at scraping off the last of the overlay. I didnt
apply too much pressure as i didnt want to go and do something dumb
like break the glass !! |
 |
![]()
 |
 |
|
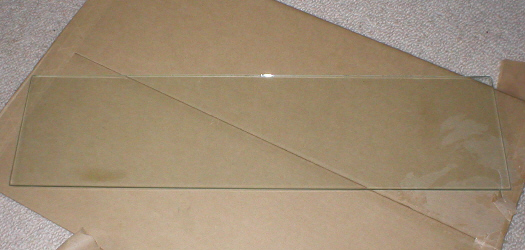
Once
all the old overlay was completely removed i gave the glass a good wipe
over with isopropanol alcohol, to remove any last residue and then finished
off with regular glass cleaner. I then offered it into place on the
cab, so i could decide how i was going to re-attatch it to the cab.
|
![]()
 |
|
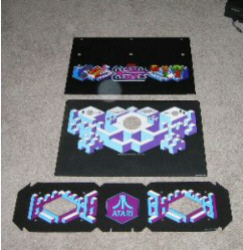
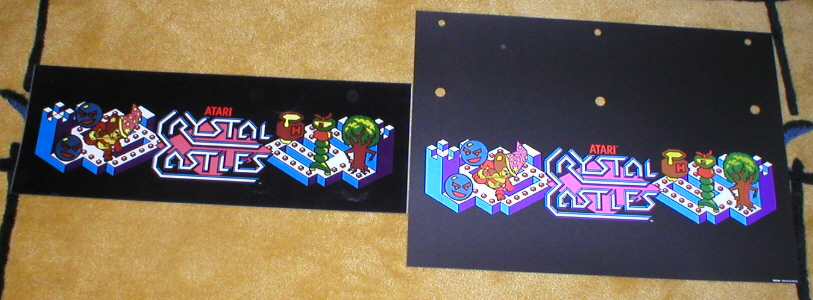
Now
aquiring reproduction artwork can be a bit of a mine field, there are
company's out there who do a first class job and there are those that
dont. Marquee on left is a very bad copy,
completely the wrong size and the material and colours are way off from
origional, where as the Marquee on the right,
is identical to an origional right down to the part numbers (bottom
right hand corner)
I chose to buy my artwork kit from Arcade Renovations, at $70.00 money very well spent ! |
![]()
 |
 |
|
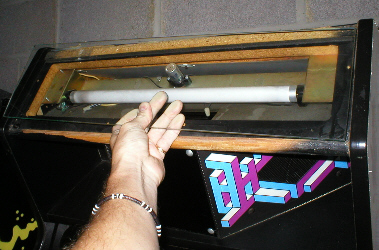
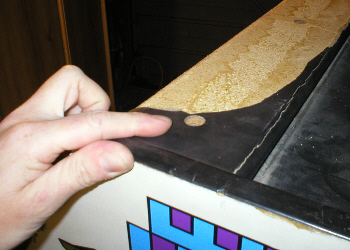
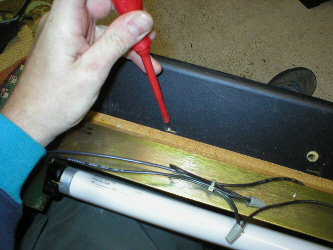
Removing
the marquee involves removing three alan bolts from the top of the cab
(see pic on left) then removing the back
door and undoing the three philips screws on the retaining bracket just
above the speaker grill assembly (see pic on right),
it is then just a matter of unplugging the light conector and lifting
the marquee unit out of the cab.
|
![]()
 |
 |
|
Once
removed it was then a case of removing the last remnants of old marquee
overlay from the wood. I used a small flat headed screw driver to prise
out the staples.
|
![]()
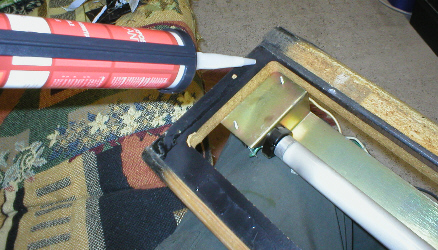 |
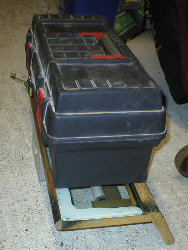
It
was now time to re-affix the glass to the marquee assembly. I used clear
silicone sealer (available in any hardware shop)
and applied it to the wood only (see pic on left),
once I was happy that I had applied enough sealer I then placed the
glass into position and applied light pressure with my finger tips to
squeeze out any excess sealer. I then left this overnight with something
heavy on top (tool box) to allow it to
dry. The sealer starts white in colour but dries clear.
|
 |
![]()
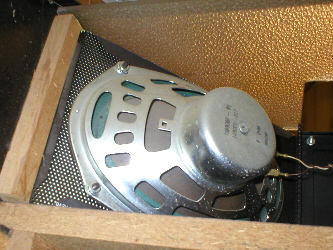 |
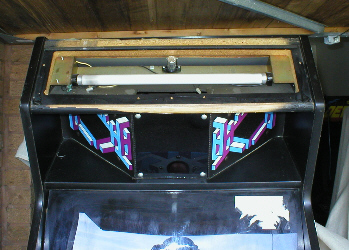
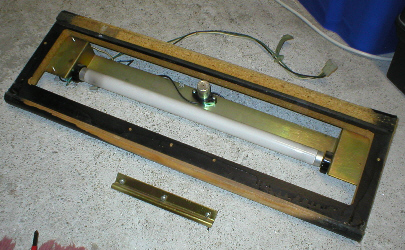
It
was now time to turn my attention to the speaker grill assembly. I started
by unbolting and disconnecting each of the speakers, thus making the
assembly lighter for removal.
|
![]()
 |
|
|
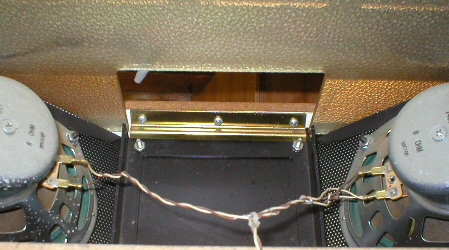
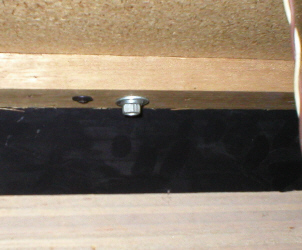
The
speaker grill assembly itself is held in place by one nut underneath
the wooden shelf above the monitor (see pic on
left) and the three retaining screws already removed when removing
the marquee (pic on right)
|
![]()
 |
 |
|
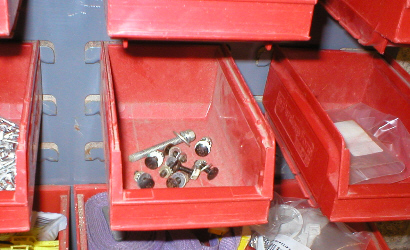
With
the speaker grill assembly removed from the cab, I placed all the relevant
fixing screws and bolt in a safe place, so they wouldn't get lost.
|
![]()
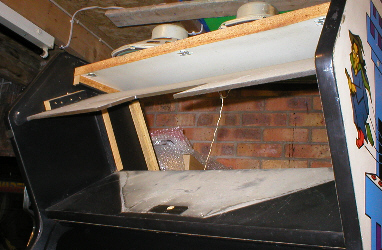 |
This
pic shows the cab with both the marquee and speaker grill assembly removed,
note the white patch where years of dust had accumulated. It was now
time to fit the new reproduction artwork.
|
![]()
![]()
![]()